Article Plan: MicroMetl Economizer Installation Instructions
This comprehensive guide details installing MicroMetl economizers into Carrier, Bryant, and ICP rooftop units, covering pre-installation checks, wiring, and control configuration.
MicroMetl economizers represent a significant advancement in HVAC system efficiency, offering substantial energy savings by utilizing outside air for cooling when conditions are favorable. These units are specifically designed for compatibility with popular rooftop units from Carrier, Bryant, and ICP, streamlining the installation process for contractors. The ECDSRT series, like the ECDSRT12CAD2DH, features adjustable dry bulb operation and options for enthalpy control, providing versatile solutions for diverse climates and building needs.
MicroMetl prioritizes ease of installation with compact designs and reconfigurable features, minimizing disruptions during projects. Their economizers can be supplied with pre-configured control packages or adapted for contractor-provided control systems, offering flexibility. Understanding the core principles of economizer operation and the specific features of MicroMetl products is crucial for a successful and optimized installation, maximizing energy efficiency and indoor air quality.
Understanding Economizer Benefits
Implementing a MicroMetl economizer delivers substantial benefits beyond simple cost savings. By leveraging free cooling from outside air, these systems significantly reduce reliance on mechanical compression, lowering energy consumption and associated expenses. This translates to a smaller carbon footprint and improved building sustainability. Economizers also enhance indoor air quality (IAQ) by introducing more fresh air into the ventilation system, diluting indoor pollutants and creating a healthier environment.
Furthermore, MicroMetl economizers, particularly those with demand controlled ventilation (DCV) capabilities, optimize airflow based on occupancy levels, preventing over-ventilation and further maximizing energy efficiency. Compatibility with controllers like Honeywell W7220 and Siemens POL224 allows for precise control and integration with existing building automation systems. The result is a more comfortable, efficient, and environmentally responsible HVAC solution.
Package Contents Verification
Upon receiving your MicroMetl economizer, carefully verify all components against the packing list to ensure a complete and trouble-free installation; The package should include the economizer unit itself – either horizontal or vertical, depending on your order – along with all necessary mounting hardware, including brackets, screws, and fasteners. Check for the control package, if specified, containing the control board and associated wiring harness.
Inspect the economizer for any shipping damage, noting any dents, scratches, or missing parts immediately. Confirm the presence of wire clamps for securing wiring, and dividers as needed. Refer to the installation instructions (Form No. IIK 602A-60-2) for a detailed parts list and diagrams. Missing components should be reported to MicroMetl customer support before commencing installation to avoid delays.
Safety Precautions
Prior to commencing any MicroMetl economizer installation, strict adherence to safety protocols is paramount. Always disconnect electrical power to the rooftop unit at the main breaker before beginning work to prevent electrical shock. Wear appropriate personal protective equipment (PPE), including safety glasses, gloves, and sturdy footwear.
Exercise caution when working at heights; utilize appropriate fall protection equipment, such as harnesses and lifelines, as required by local regulations. Be mindful of sharp edges on the rooftop unit and economizer components. Ensure the work area is well-lit and free of obstructions. Follow all applicable local and national electrical codes during wiring and connections. MicroMetl reserves the right to modify specifications without notice, so always refer to the latest installation manual.
Tools Required for Installation
Successful MicroMetl economizer installation necessitates a specific set of tools. Essential items include a standard screwdriver set, various wrenches (adjustable, socket, and open-end), wire strippers and crimpers for electrical connections, and a multimeter for verifying voltage and continuity. A drill with assorted bits is needed for mounting brackets and securing components.
Additionally, a sheet metal cutting tool (snips or nibbler) may be required for minor ductwork adjustments. Wire clamps are crucial for securing wiring harnesses. A level ensures proper economizer alignment. Depending on the unit, specialized tools for accessing and manipulating rooftop unit panels might be necessary. Always consult the installation manual for specific tool recommendations related to your MicroMetl model and the target rooftop unit (Carrier, Bryant, or ICP).
Economizer Compatibility – Carrier, Bryant, ICP SRT Rooftop Units
MicroMetl economizers are specifically designed for compatibility with Carrier, Bryant, and ICP SRT rooftop units, offering a streamlined installation process. These units share a common control architecture, simplifying integration. The MicroMetl ECDSRT series is particularly noted for its adaptability to these popular models.
However, verifying the specific SRT model number is crucial before commencing installation. Compatibility extends to various control package options, including those utilizing Honeywell W7220 or Siemens POL224 controllers. Contractors can also opt to supply their own control systems, leveraging the economizer’s reconfigurable design. The compact footprint minimizes installation challenges, even when unexpected issues arise during retrofit projects, ensuring project timelines remain on track;
Pre-Installation Checks – Rooftop Unit Preparation
Prior to installing the MicroMetl economizer, thorough rooftop unit preparation is essential. Begin by disconnecting all power to the RTU and verifying the unit is completely de-energized. Inspect the existing unit for any damage or obstructions that might hinder installation. Confirm sufficient clearance around the unit for safe and efficient work.
Carefully review the RTU’s wiring diagram to understand the existing control scheme. Note the location of relevant wiring connections for economizer integration. Ensure the return and supply air openings are clear and accessible. Verify the structural integrity of the rooftop mounting surface. Finally, gather all necessary tools and components, referencing the package contents list to prevent delays during the installation process.
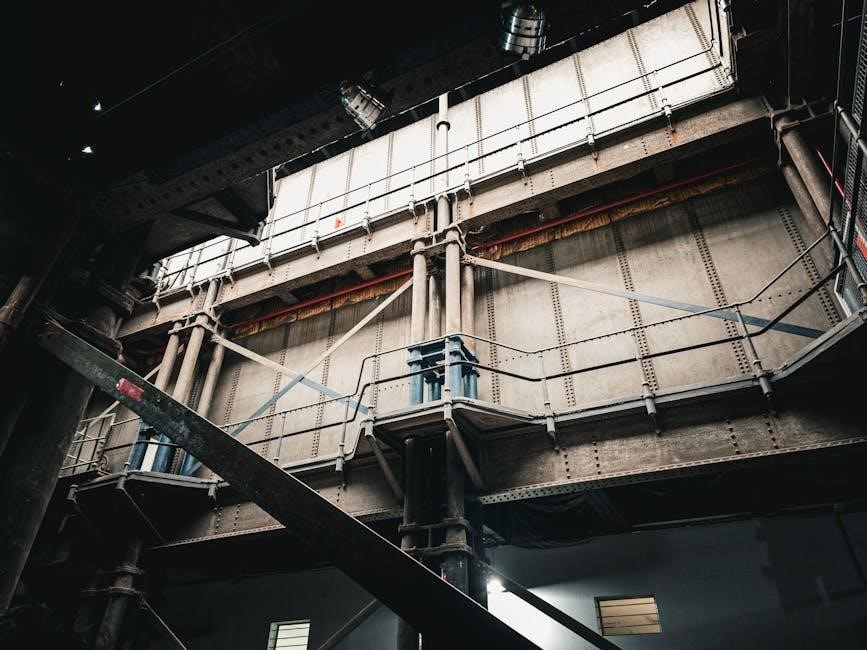
Horizontal Economizer Installation Steps
Begin by carefully positioning the horizontal economizer assembly onto the rooftop unit, ensuring proper alignment with the return and supply air openings. Secure the economizer frame to the RTU using the provided mounting hardware, verifying a tight and stable connection. Connect the return and supply air ducts to the economizer, utilizing appropriate sealing methods to prevent air leakage.
Install the economizer’s dampers, confirming smooth operation and full range of motion. Pay close attention to the relief air damper, ensuring it functions correctly for proper ventilation. Double-check all ductwork connections for airtightness. Refer to the detailed diagrams in the installation manual for specific guidance on duct routing and securing. Finally, inspect the overall assembly for any potential interference or obstructions before proceeding to wiring.
Vertical Economizer Installation Steps
Commence by lifting the vertical economizer assembly onto the rooftop unit, carefully aligning it with the designated mounting points. Secure the unit firmly to the RTU chassis using the supplied bolts and brackets, ensuring a robust and vibration-resistant installation. Connect the return and supply air ducts, employing duct sealant to guarantee airtight connections and minimize energy loss.
Verify the proper operation of the vertical economizer’s dampers, checking for smooth movement throughout their entire range. Inspect the relief air damper to confirm it opens and closes as intended, facilitating effective ventilation control. Thoroughly examine all ductwork joints for leaks and reinforce as needed. Consult the installation manual’s illustrations for precise ductwork configurations and securement techniques. Prior to electrical connections, confirm the physical installation is complete and secure.
Wiring and Electrical Connections
Begin by disconnecting power to the rooftop unit before initiating any electrical work. Identify the designated wiring points on both the economizer and the RTU control panel, referencing the wiring diagrams provided in the installation manual. Connect the economizer’s wiring harness to the unit, ensuring secure and properly insulated connections. Utilize wire clamps to neatly organize and secure the wiring, preventing strain or damage.
For control package options, follow the specific wiring instructions included with the package. If utilizing external controllers like Honeywell W7220 or Siemens POL224, adhere to their respective wiring schematics. Double-check all connections for polarity and tightness. Verify proper grounding to ensure safe operation. After completing the wiring, carefully inspect all connections before restoring power to the system.
Control Package Options
MicroMetl economizers offer pre-engineered control packages for simplified integration, streamlining the installation process and minimizing complexity. These packages are designed for compatibility with common building automation systems, providing optimized economizer control. Contractors can also opt to provide their own control systems, offering flexibility based on project requirements.
When utilizing a MicroMetl control package, carefully follow the included wiring diagrams and configuration instructions. The packages typically include all necessary components for basic economizer operation, such as dry bulb control and potentially enthalpy changeover. Ensure the selected package aligns with the specific economizer model and the rooftop unit’s control capabilities. Proper configuration is crucial for optimal performance and energy savings.
Compatibility with Honeywell W7220 & Siemens POL224 Controllers
MicroMetl economizers demonstrate strong compatibility with industry-standard controllers, specifically the Honeywell W7220 and Siemens POL224. This allows for seamless integration into existing building automation systems, maximizing control and monitoring capabilities. Utilizing these controllers enables advanced features like demand controlled ventilation (DCV) and precise enthalpy control.
When interfacing with a Honeywell W7220 or Siemens POL224, refer to the MicroMetl installation instructions for detailed wiring schematics and configuration parameters. Proper signal mapping is essential for accurate economizer operation. Ensure the controller is programmed to correctly interpret the economizer’s status signals and modulate the dampers accordingly. This compatibility simplifies complex projects and delivers optimized energy efficiency.
Actuator Modulation and Switching Control
MicroMetl economizers support both actuator modulation and switching control methods, offering flexibility to match diverse system requirements and controller capabilities. Modulation control provides precise damper positioning for optimal free cooling, while switching control offers simpler on/off operation. Proper wiring and controller configuration are crucial for selecting the appropriate control strategy.
When utilizing modulation control, ensure the controller provides a proportional output signal (typically 0-10VDC or 4-20mA) to the economizer actuator. Switching control relies on discrete on/off signals to operate the dampers. Refer to the wiring diagrams in the installation manual for correct connections. Secure wire clamps are essential for maintaining reliable connections. MicroMetl reserves the right to modify specifications without notice.
Configuring Economizer Control – Dry Bulb & Enthalpy Changeover

MicroMetl economizers offer both dry bulb and enthalpy changeover control options, allowing for optimized free cooling based on environmental conditions. Dry bulb changeover simply compares outdoor and return air temperatures, engaging free cooling when the outdoor air is cooler. Enthalpy changeover, however, considers both temperature and humidity, providing more accurate and efficient control, especially in humid climates.
Proper configuration within the building automation system (BAS) is essential. The BAS must be programmed with appropriate setpoints for both heating and cooling modes, as well as the changeover thresholds. Refer to the controller documentation for specific programming instructions. Utilizing enthalpy control maximizes energy savings by preventing the introduction of humid outdoor air during periods when it would increase cooling loads.
Demand Controlled Ventilation (DCV) Setup
MicroMetl economizers readily integrate with Demand Controlled Ventilation (DCV) systems, optimizing indoor air quality while minimizing energy consumption. DCV modulates the amount of outdoor air introduced based on occupancy levels, typically utilizing CO2 sensors. When integrated with an economizer, DCV ensures sufficient fresh air is supplied only when needed, reducing heating and cooling loads.
Proper setup involves connecting the CO2 sensors to the building automation system (BAS) and configuring the economizer to respond accordingly. The BAS should be programmed to decrease outdoor air intake during low occupancy periods and increase it during high occupancy. This coordinated control strategy maximizes energy efficiency and maintains a comfortable indoor environment. Ensure sensor calibration and placement adhere to industry best practices for accurate readings.
Post-Installation Testing and Commissioning
Thorough testing and commissioning are crucial after installing a MicroMetl economizer to verify proper operation and ensure optimal performance. Begin by confirming all wiring connections are secure and correct, referencing the wiring diagrams. Cycle the economizer through various modes – occupied, unoccupied, and economizer operation – observing actuator movement and damper positions.
Verify the economizer modulates correctly based on dry bulb or enthalpy changeover settings. Check the relief damper operation, ensuring it opens and closes in coordination with the outdoor air damper. Utilize the building automation system (BAS) to monitor economizer status and confirm accurate sensor readings. Document all test results and address any discrepancies before finalizing the installation. Proper commissioning guarantees long-term efficiency and reliability.
Troubleshooting Common Installation Issues
Several issues can arise during MicroMetl economizer installation. Incorrect wiring is frequent; double-check connections against the provided schematics, particularly for actuator modulation and switching control. If the economizer fails to engage, verify the control package compatibility with the rooftop unit (Carrier, Bryant, ICP SRT) and controller (Honeywell W7220, Siemens POL224).

Damper binding can occur; ensure smooth movement and proper alignment. Issues with DCV setup may require recalibrating CO2 sensors or adjusting ventilation rates. If the unit doesn’t respond to changeover settings, confirm dry bulb and enthalpy control configurations are correct. Remember manufacturer specifications can change, so always refer to the latest documentation. Addressing these common problems promptly ensures optimal system performance.
MicroMetl Warranty Information & Contact Details
MicroMetl stands behind its economizer products with a comprehensive warranty, protecting against manufacturing defects and material failures. Specific warranty terms and durations vary by model; refer to the documentation included with your ECDSRT12CAD2DH or CPECOMZR006A00 unit for detailed coverage information. Registration of your product is recommended to expedite any warranty claims.
For technical support, installation assistance, or to submit a warranty claim, contact MicroMetl directly. Please note that MicroMetl reserves the right to modify specifications and designs without prior notice. Contact information can be found on the MicroMetl website or within the installation instructions (Form No. IIK 602A-60-2). Prompt communication ensures efficient resolution of any concerns.
